Videos

Prone Stander Demo

Please accept preferences cookies to watch this video.

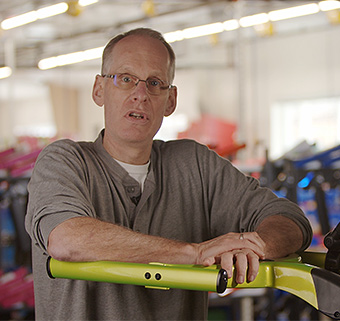
Lori Potts, PT demonstrates the features of the Prone Stander and discusses strategies to promote effective standing.

Watch Lori demonstrate the Mobile Stander and Supine Stander.

Video Transcript


This is Rifton’s Prone Stander. This is the Small. We also offer it in Medium and Large.

Again, we have the gradual change of angle. With our protractor here you can see it can move right up to 90 degrees or you can have it at a slightly less vertical setting. Just realize that the more horizontal it is, the more the body weight will be supported by the trunk board and less weight bearing will occur through the long bones. Whereas as you move it into a more vertical position you can check and assess whether you’re able to assure that the client is really bearing weight through their legs.

Here we have two straps on the Small that will cross for that postural support. On our larger Standers these straps are simply horizontal across the frame.

This is a separate kneeboard. The knee board and the foot board and the trunk board all adjust in height separately, and that’s very beneficial either to accommodate height of the child or as they’re gaining in upper trunk and postural control you can lower the support.

As you move into a more horizontal position, you’re actually challenging the extensors; the head and upper trunk to build that postural control against gravity.

Now we’re just going to have a look at the accessories. We have the laterals for the trunk. We have the knee supports and again the sandals. Here, the small sandals are mounted on the footboard and I’ll just compare them in size to the Medium for your interest. So, this, then would be the medium sandal and you can see how both fit onto this particular size of prone board.

We again have that same stack and latch system. Another consideration might be that you’ll choose to place the sandal this way around and the concept there is that for the student who is able to step up onto that board in order to have that standing opportunity, it’s actually easier for them to clear the board and place their foot onto the sandal.

Now, a couple more pointers in terms of transfer into the product. Either you have a child who is able to step up onto the stander themselves, or you may have the child positioned safely on your lap. Place their feet into the sandals and then stand up with them as a way to assist their transfer into the product and then secure them safely.

Some further consideration include sizing of the Stander for even smaller children and in order to do that you can actually remove the knee board and I’ll just show that step here. You loosen this knob and swing the little metal piece around and now we are able to move the footboard a lot higher and slide it up those rods and make the entire Stander suitable for a much smaller child.

In terms of abduction or leg separation we have similar options as we saw with the Supine Stander. The difference here is that we now have a hip stabilizer and this, once it’s secured in place, will actually assure a hip extension stretch for the child.

Finally, a small look at the tray. It’s a very nice smooth surface. This means it will accommodate the Anchor product family from Rifton as a way to stabilize an upper extremity for better use of the hand that is free and a very simple angle adjust as needed for the board, depending on the angle of the board and tray for a particular student.

So, that wraps up our Prone Stander.

Back to Top