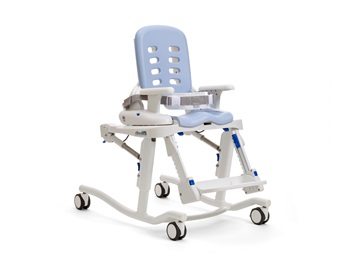
Toileting chair improvements you asked for.
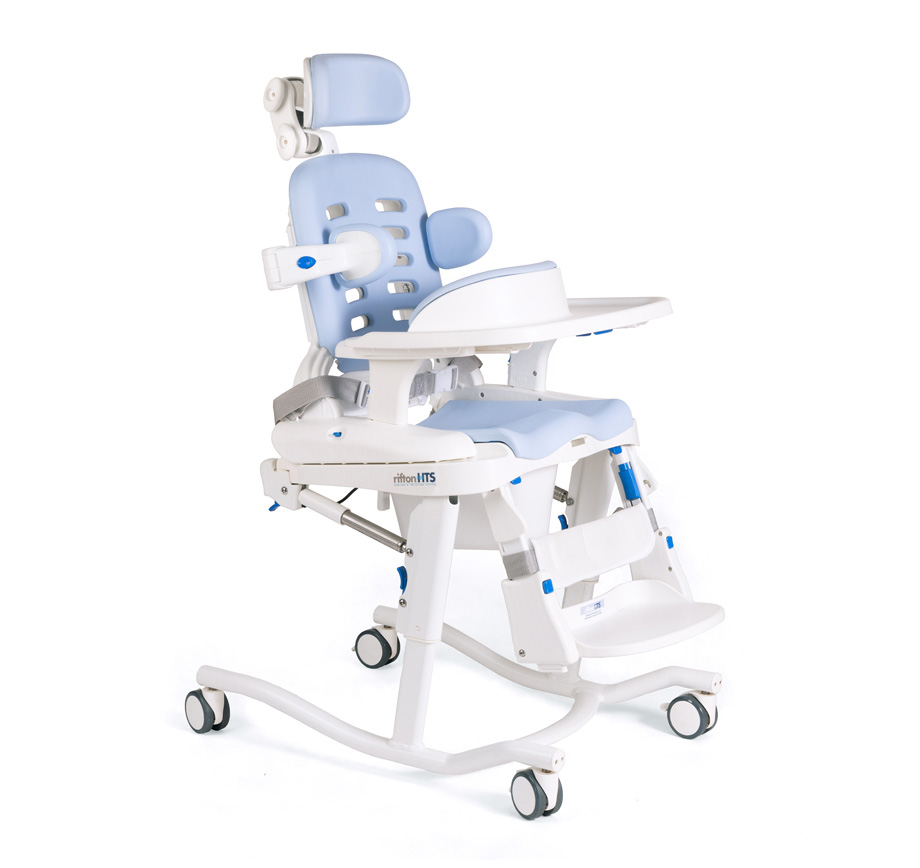
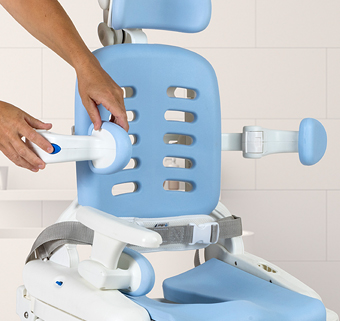
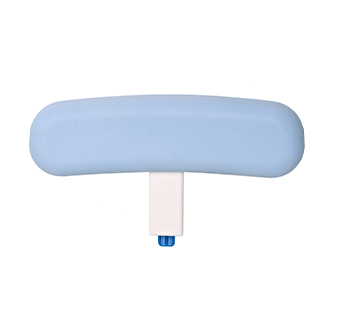
- New height-adjustable backrest – now available in Medium, Small and Large coming soon.
- Softer seat pad
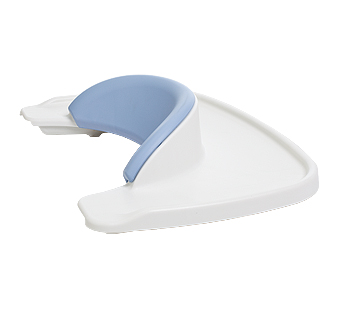
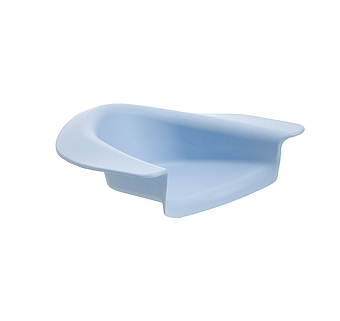
- Dynamic deflector, a more dignified and effective solution (available for medium and large)
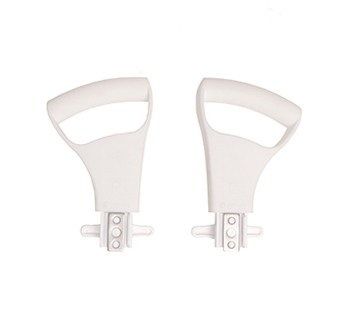
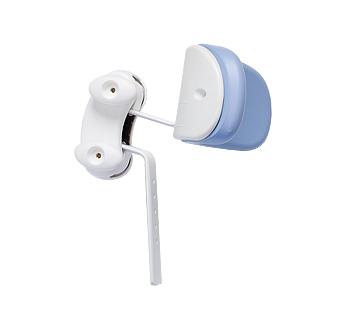
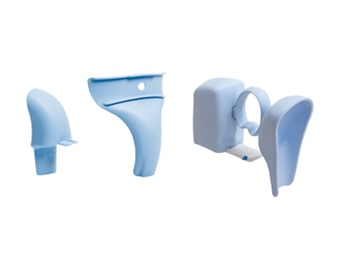
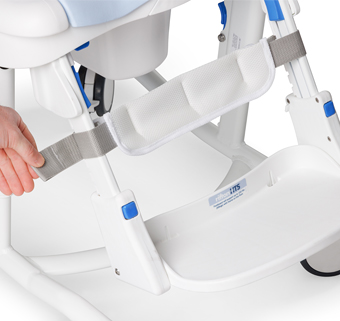
- Swing-away laterals for easier transfers
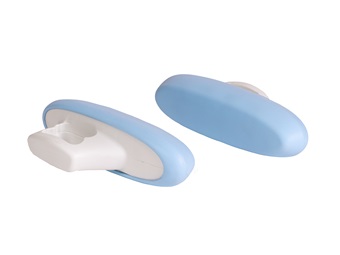
- Hip guides with thicker pads, allowing narrower seat width adjustment
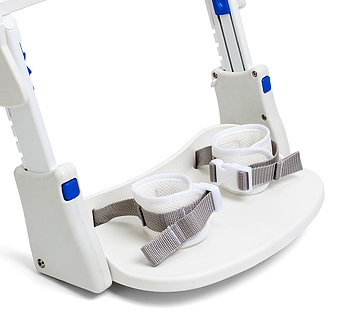
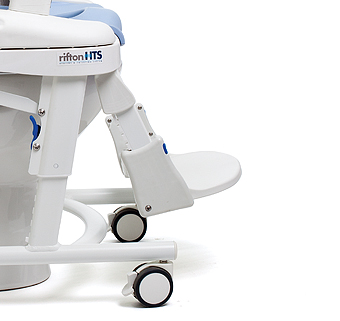
- Expanded angle adjustment on the footboard
- Improved pan attachment for easy removal

Time and again, research has shown the necessity of good toileting for children’s health, so we updated the HTS with that in mind.
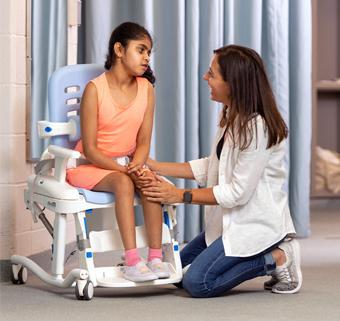
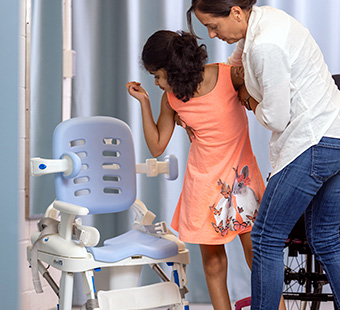
This adaptive equipment for toileting supports toilet training for special needs with features that improve comfort, positioning, and caregiver access.
Hygienic, simple, and affordable, the new and improved HTS components promote the positioning that is ideal and natural for effective toileting. As a hygiene toileting system, the HTS functions as an adaptive toilet seat, a mobile toileting chair, and a special needs toilet chair for home, school, or clinic use. This toileting system line is designed for real-world routines.
Download the HTS brochure.
Download the HTS positioning checklist.
The Benefits
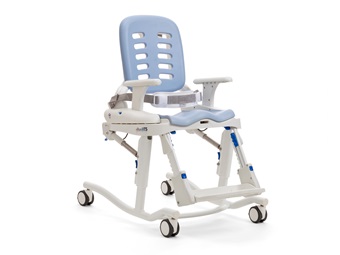
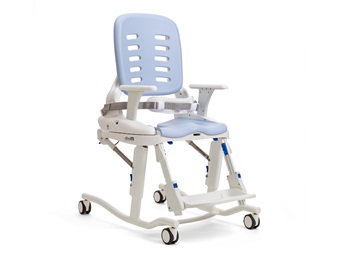
- New backrest adjusts to three different height positions, replacing the previous fixed design. This adjustability allows clinicians and caregivers to set the backrest at the user’s shoulder height, supporting accurate positioning of headrest and butterfly harness accessories. Now available in Medium – Small and Large coming soon.
- The unique design of the optional seat pad opening, open to the rear for larger clients, facilitates clear access for cleaning and hygiene. This adaptive toilet seat option helps with dignity and efficiency.
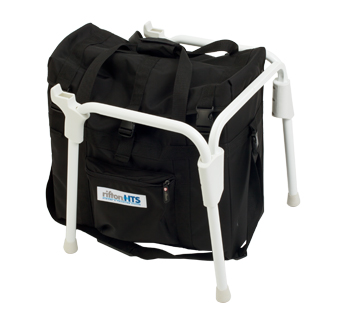
- The portability kit provides clients with greater independence and their families greater freedom to travel. Take the HTS toileting system wherever routines happen.
- Optional molded foam pads for the back and seat provide comfort for clients and easy disinfecting for caregivers.
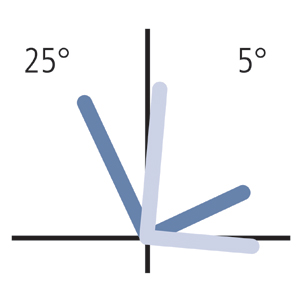
- Optional gas-assisted tilt-in-space enables the HTS to tilt 5° forward for easier transfer and better toileting position, as well as 25° back for showering and hair washing. This makes the HTS shower chair configuration simple.
- On, Over, Off, no tools required. No matter what your toileting situation or special need, the HTS can meet it with its unmatched versatility.
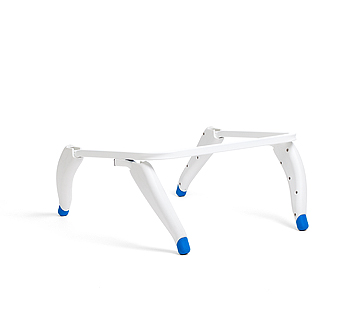
- ON the toilet, attached with mounting bars
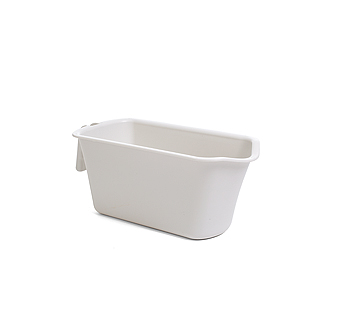
- OVER the toilet, attached to a mobile or stationary economy base
- OFF the toilet with a mobile or stationary base and commode pan
Use Cases for the HTS Toileting Chair
- Adaptive toilet seat on the toilet for posture, stability, and access during routines.
- HTS shower chair for bathing, hair washing, and rinsing with a comfortable tilt.
- Toilet training for special needs with adjustable supports that build consistency and confidence.
- Mobile toileting chair over the toilet or off the toilet for flexible bathroom layouts.
- Travel and community use with the portability kit as adaptive equipment for toileting.
Features of the HTS Hygiene Toileting System
Please use the slides below to learn more about the HTS rolling shower commode chair. Explore how this hygiene toileting system supports positioning, transfers, and cleaning across environments.
- 1 Ideal for any child, any toilet, anywhere
- 2 Supportive and comfortable
- 3 Reduces clean up
- 4 Grows with the child (or multiple children)
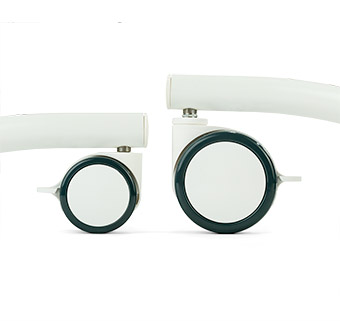
- 5 Five choices of base or mounting bar
- 6 Solves real problems
- 7 Easier lifts and transfers
- 8 Easy adjustments
- 9 Hygienic and easy to clean
- 10 Exceptional value
- 11 Lasts for many years
Components for Adaptive Toileting
Use the slides below to learn more about the components available to customize the HTS to an adaptive toilet chair, a freestanding commode, or a shower unit to meet your client’s needs. Looking for help with client-assist transfers? Don’t miss the Support Station.
Configure for a special needs toilet chair or HTS shower chair as goals change.


Sizes & Dimensions
Use the dimensions chart below to help you make the right choice for your client.
Want to make sure it fits? Download a detailed chair sizing worksheet.
Important: Make sure that seat width, depth, and height are adequate for each individual user, and that the user’s weight does not exceed the maximum weight recommended. Proper sizing ensures safe use of the toileting chair during toilet training for special needs.

The user’s overall height is a general guide to help you select the appropriate size of HTS. Choose the model that allows for growth.

Product Resources
Learn more about the HTS using the resources below.
Downloads