Pacer Arm Prompt Positioning Tutorial
| July 2017The arm supports of Rifton’s Pacer gait trainer offer a wide variety of positioning options for upper extremity stability, comfort, steering, and assistance with head control, weight-bearing and weight-shifting. Use this tutorial as a guide for great positioning outcomes.
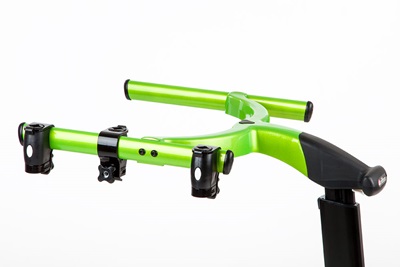
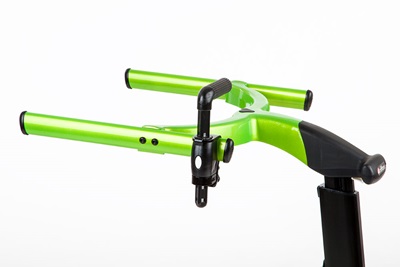
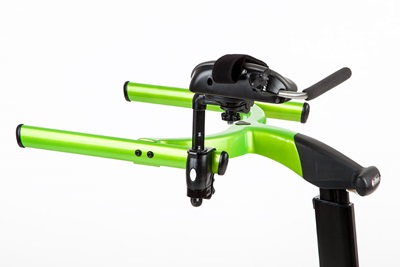
Clamp Placement
|
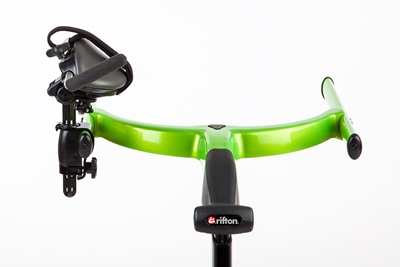
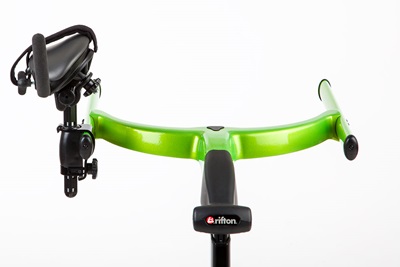
The clamp is the foundation for arm prompt positioning. It can be placed anywhere along the top bar – inside, outside, front or back (if using Pacer as a reverse walker). |
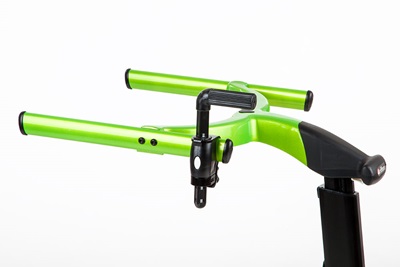
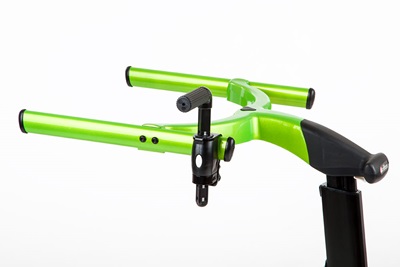
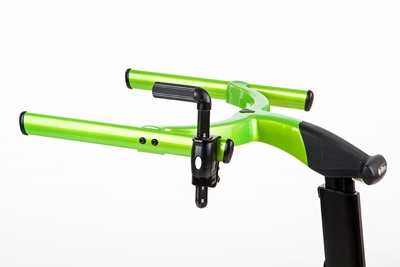
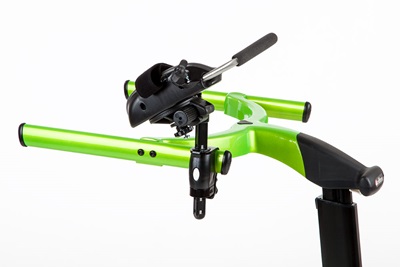
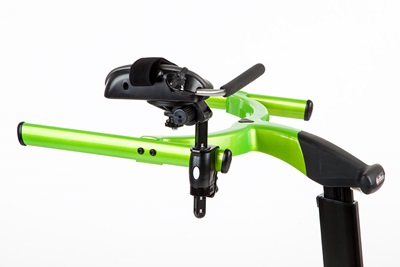
Post Placement
|
The arm prompt post inserts into the clamp in any one of four directions:
|
|
Post facing outward. |
|
Post facing backward. |
|
Post facing inward. |
|
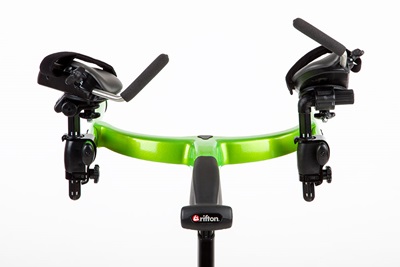
Loosen the knob below the forearm support and slide the support onto the post. |

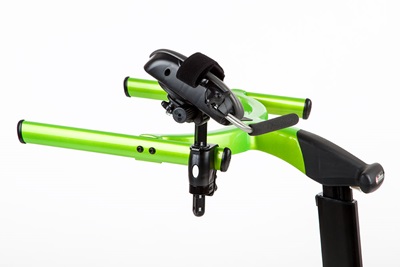
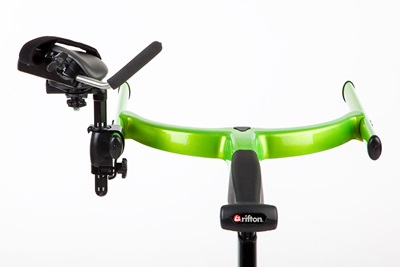
How to Angle the Arm Support Up and Down
|
Position the posts facing inwards or outwards then rotate the arm support around the post to achieve the desired angle.
|
|
Arm support angled down. |
How to Position the Arm Supports Forward and Backward
|
For a forward position, loosen the knob below the arm support and slide the support forward in relation to the disc underneath. |
|
For additional forward positioning, face the posts forward. (Remember to slide the clamp to the forward-most position on the bar as well). |
|
For a posterior position, rotate the disc underneath the forearm support 180°. Then slide the forearm support back. |
|
For additional posterior positioning, face the post backwards. (Remember to slide the clamp back as well for even more posterior placement). |
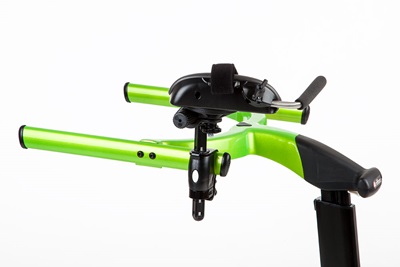

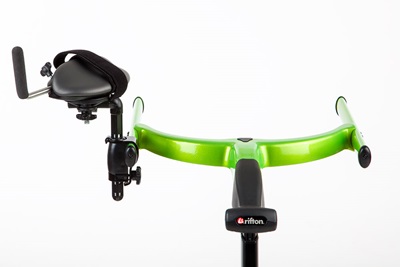
How to Angle the Arm Supports Inwards and Outwards
|
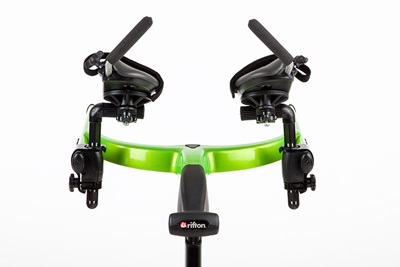
The arm supports angle inwards or outwards. Loosen the knob below the arm support and rotate arm support inwards. |
|
Arm support angled outwards. |
How to Rotate the Arm Supports In or Out
|
Position the posts facing forward or backwards and rotate the arm support around the post to achieve the desired position. |
|
Arm support rotated out. |
Adjusting the Hand Grip
|
Loosen the knob anchoring the hand grip to adjust both length and tilt of the grip. |

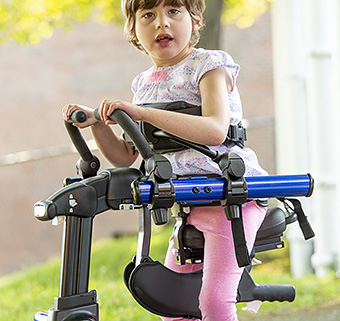
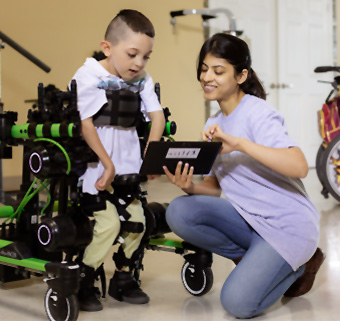
Positioning Examples
|
Example of the arm supports positioned independently to accommodate body assymetries. Combine arm prompt angle with rotation for further positioning options. |
|
Example of the arm supports positioned to accommodate a forward leaning posture. |


