Pacer Positioning In Depth
An Instructional Video Series
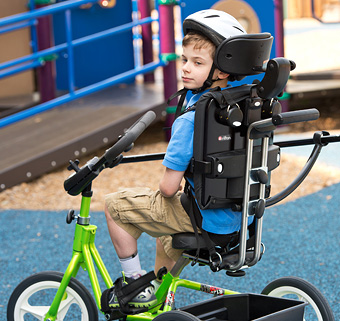
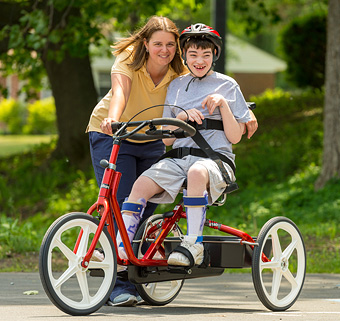
| June 2022For the child with disabilities, upright, self-guided mobility achieves greater learning opportunities, increased participation and the exploration of new environments. Physical and cognitive growth are secondary benefits of mobility and therefore, achieving independence in ambulation is a frequently noted therapy goal.
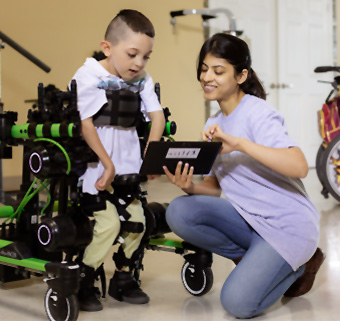
In this video series, Cathy Ripmaster, MSPT joins Rifton to present positioning tips and guidance for the different features of the Pacer gait trainer. Please join Cathy as she draws on her years of experience positioning learners with diverse presentations and unique physical needs, to adress a variety of support needs.
Instructional Segments
1. Pacer Positioning In Depth Series Introduction
2. Arm Prompt Positioning – In Depth
3. Chest Prompt Positioning – In Depth
4. When the Chest Prompt is Too High
6. Multi-Positioning Saddle – In Depth
7. Positioning the Child with Kyphosis in the Pacer


