Supine Transfers Made Easy with the Rifton Stander (Sizes 2 and 3)
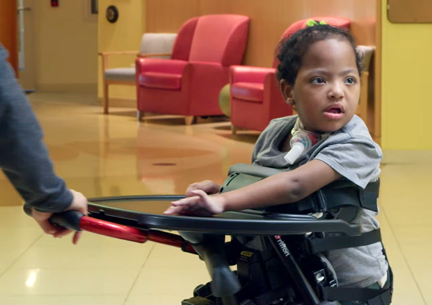
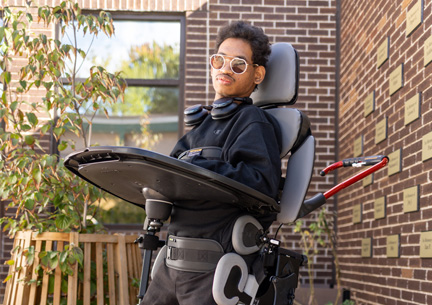
In this video, we demonstrate the seamless process of supine transfers using the innovative Rifton Stander. This guide ensures comfort and adaptability for users with various needs.
Key Highlights:
Horizontal Positioning: Learn how to prepare the stander for a lateral transfer from a bed or reclined chair.
Adjustable Legs: Discover the unique feature of independently adjustable legs to accommodate any asymmetry.
Measurement and Fitting: Step-by-step instructions on measuring and adjusting the stander to fit the user perfectly.
Customizable Settings: Tailor hip flexion, knee flexion, and hip depth to suit individual requirements. Modify trunk height for additional length as needed.
Lateral Transfer Process: Detailed demonstration of the lateral transfer from a bed or reclined chair.
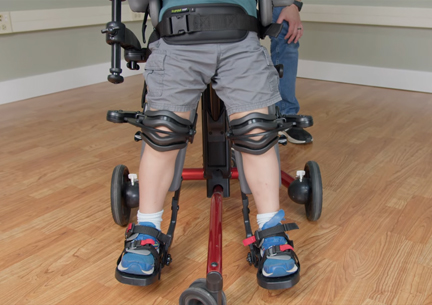
Strapping and Support: Secure the user with trunk, hip, knee, and sandal straps for added stability. Independent Hip Abduction: Explore the flexibility of up to 30 degrees of hip abduction on each leg. Customize ankle adjustments for dorsiflexion, plantarflexion, rotation, and foot depth.
Final Adjustments: Position the stander to the desired height and angle, and attach the tray.
Join us as we highlight how the Rifton stander can make a significant difference in promoting flexibility, preventing contractures, and fostering healthy development in children with disabilities.
Transcript
Today let’s explore the seamless process of supine transfers with the innovative Rifton Stander, ensuring comfort and adaptability for users of all needs. Begin by positioning the Stander horizontally, preparing for a lateral transfer from a bed or a reclined chair.
What sets the Rifton Stander apart? The legs can be independently adjusted to accommodate leg length discrepancies or any other asymmetry. For fitting, measure the patient from hip to knee, and knee to heel on both legs to determine the appropriate length. Set thigh length and lower leg length on the Stander according to the measurements. Customize the Stander to the user’s needs by setting hip flexion, knee flexion, and hip depth based on contractures or body shape. In the supine position, consider lowering hip depth to create space for gluteal tissue. Trunk height can be adjusted if additional trunk length is needed.
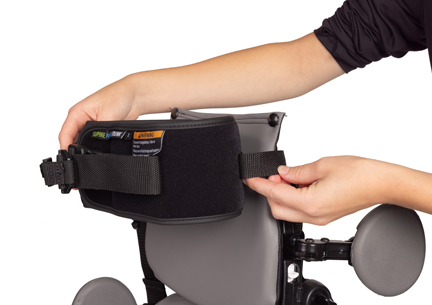
Prepare for lateral transfer by swinging away laterals and opening up straps. Turn over leg laterals to create transfer space. When performing a lateral transfer from a bed or reclined chair, ensure the patient’s hips are positioned at the marker. Secure the patient with critical straps: the trunk strap, hip strap, knee straps, and sandal straps. Engage the trunk and leg lateral supports for added stability.
Enjoy the flexibility of independent hip abduction, available up to 30° on each leg. Ankle adjustments for dorsiflexion, plantar flexion, rotation, and foot depth can be tailored to user preferences. Position the Stander to the desired height and angle. Adjust the headrest depth and laterals, attaching the tray and fine-tuning its height and angle.
And there you have it, supine transfers made easy with the Rifton Stander.


